How to Store Fitness Gear Without the Clutter
Share
A workout corner fails when setup takes longer than training. Learning how to store fitness gear means giving every item a home, protecting it from damage, and keeping your floor clear. You do not need a dedicated gym. You need a simple system that matches your space, routine, and equipment.
Start With Your Real Training Space
Measure the area before buying racks, bins, or wall mounts. This matters most in apartments, bedrooms, and shared living rooms. Account for doors, outlets, vents, baseboards, and walking paths.
Leave at least 30 inches for a clear walkway. Keep heavy gear low. Keep frequently used tools between knee and chest height. Anything you use for recovery can live in an easy-access drawer or basket.
Your storage system should support fast sessions. If resistance bands are buried in a closet, you will use them less. If an ab roller sits in the middle of the floor, it becomes clutter instead of training equipment.
Build Three Simple Zones
Divide your equipment by how you use it. A strength zone holds your training tools. A mobility zone keeps yoga and stretching gear ready. A recovery zone protects massage tools, braces, and smaller accessories.
This approach avoids one oversized bin full of tangled bands, dusty mats, and missing attachments. It also makes cleanup faster after every session.
Use open storage for gear you reach for weekly. Use closed storage for smaller items, duplicate accessories, or equipment that looks untidy in a living area. Clear bins work well when you need to see everything quickly.
Store Strength Gear for Fast Setup
Strength equipment needs the most deliberate planning. It can be heavy, awkward, or easy to tangle. A narrow vertical shelf, low cabinet, or rolling utility cart can handle most home setups.
Resistance Bands and Ab Rollers
Bands should never stay knotted or tightly wrapped around handles. Over time, sharp bends can stress the material. Hang loop bands from wide hooks, or place them loosely coiled in labeled bins. Store an ab roller upright in a bin or on a lower shelf, away from direct sun and heat.
Use this storage specification as a minimum planning guide. These are storage-space requirements, not universal product measurements. Check your equipment label before choosing a rack or hook.
- Footprint dimensions: 24 x 18 inches for the storage bay. Folded bands need a 10 x 8-inch bin. An ab roller needs a 14 x 8-inch shelf area.
- Weight capacity: Choose a shelf or bin rated for at least 25 pounds.
- Resistance type / motor horsepower: Elastic resistance bands. Ab roller uses bodyweight resistance. No motor.
- Noise level assessment: Very low. Bands and rollers are apartment-friendly when returned gently to storage.
Pull-Up Bars and Punching Trainers
Doorway pull-up bars need dry storage and regular checks. Never stack heavy items on top of their foam contact pads. Those pads protect your doorway and can deform under pressure. Keep installation hardware together in one labeled bag.
Freestanding punching trainers need more floor space. Store gloves, wraps, and small accessories in the trainer base compartment only if the manufacturer allows it. Do not block the base with loose equipment. It creates a trip hazard.
- Footprint dimensions: Reserve a 36 x 12-inch vertical closet section for a removed pull-up bar. Reserve a 36 x 36-inch floor zone for a freestanding punching trainer.
- Weight capacity: Closet shelf storage should support at least 35 pounds. A trainer base must sit directly on the floor, not a shelf.
- Resistance type / motor horsepower: Bodyweight resistance for pull-up bars. Impact resistance for punching trainers. No motor.
- Noise level assessment: Moderate. Pull-up bars are quiet when stored. Punching trainers can create vibration, especially upstairs.
Keep Mobility Gear Clean and Flat
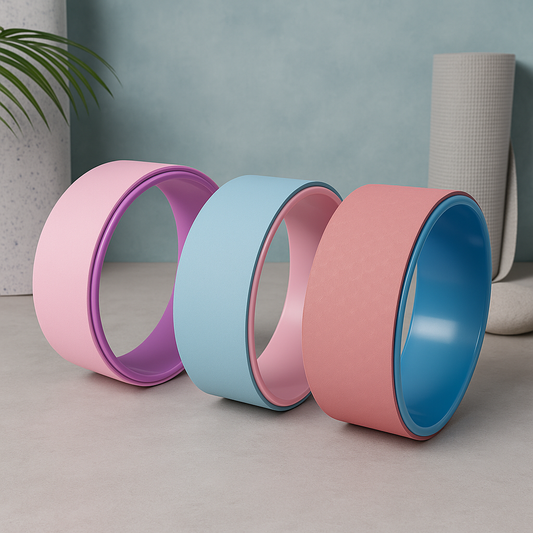
Yoga and mobility equipment looks simple, yet it often creates the biggest pile. Mats, blocks, straps, and rollers spread quickly when there is no dedicated home.
Roll yoga mats with the top surface facing outward. This helps the mat lie flatter next time. Store it vertically in a basket, wall rack, or tall cabinet. Keep it away from radiators, sunny windows, and damp basement walls. Heat and moisture can shorten its usable life.
Yoga Mats, Blocks, and Mobility Accessories
A vertical holder saves floor space. It also lets a damp mat air out after cleaning. Do not seal a sweaty mat in a closed bin right after training. Let it dry first.
- Footprint dimensions: Use a 12 x 12-inch floor basket with a 30-inch height clearance. Blocks and straps need an additional 16 x 12-inch shelf area.
- Weight capacity: Select a basket or shelf rated for at least 20 pounds.
- Resistance type / motor horsepower: Non-resistance mobility gear. No motor.
- Noise level assessment: Very low. Ideal for apartments, early mornings, and shared spaces.
Protect Recovery Tools From Heat and Dust
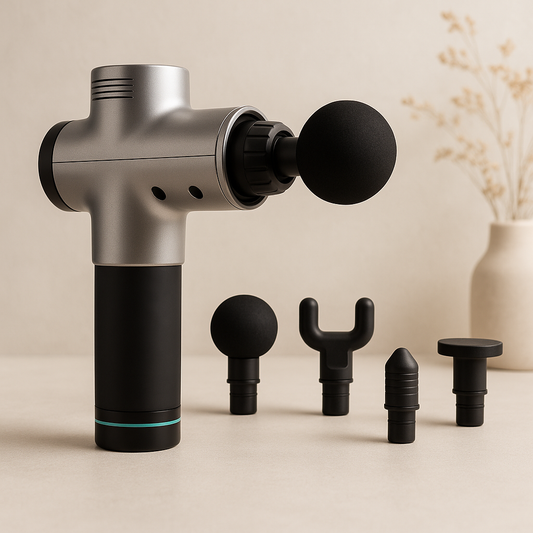
Recovery gear works best when it is clean and easy to reach. Knee braces, massage balls, and neck or shoulder massagers should not live under a pile of sweaty clothing. Give recovery its own drawer, cabinet shelf, or portable tote.
Wash or wipe soft supports according to their care instructions before long-term storage. Make sure everything is dry. Moisture can cause odors and weaken hook-and-loop fasteners.
Braces, Massage Balls, and Massagers
Support gear should lie flat whenever possible. Fold only along existing seams. For powered recovery tools, loosely wrap the cord. Tight cord wrapping can strain the connection point over time.
- Footprint dimensions: Allocate a 20 x 14-inch drawer or storage bin. Powered massagers need a 16 x 10-inch compartment with 6 inches of height.
- Weight capacity: A drawer or shelf should support at least 15 pounds.
- Resistance type / motor horsepower: Massage balls use bodyweight pressure. Powered massagers use electric vibration. Motor horsepower is not typically listed for compact recovery tools.
- Noise level assessment: Low to moderate. Massage balls are nearly silent. Powered massagers may be audible through thin walls.
Use Vertical Space Without Creating Hazards
Walls can make a small room work harder. Hooks, pegboards, narrow shelves, and over-the-door organizers free up floor space. But vertical storage needs secure installation.
Mount hooks into studs whenever possible. Follow the hardware load rating. Do not hang heavy gear from adhesive hooks. They are useful for straps and light bands, not loaded bags or metal equipment.
A pegboard works well for lightweight accessories. Arrange gear by frequency. Put daily tools at eye level. Place occasional accessories higher up. Keep nothing heavy above your head or above a bed, desk, or doorway.
If you rent, use a freestanding rack or slim cabinet instead. It provides structure without wall damage. Measure the fully opened door clearance before placing any cabinet in a tight room.
Create a Five-Minute Reset Routine
The best storage system is one you will actually maintain. End every session with a short reset. Wipe handles. Return bands to their hook. Stand the mat upright. Put recovery tools back in their drawer.
This routine protects your gear and removes friction from tomorrow's workout. It also helps you spot wear early. Check bands for cracks, inspect pull-up bar pads, and look for loose stitching on braces before problems grow.
How to Choose Fitness Gear Storage
Use this checklist before adding any organizer, shelf, or rack:
- Measure your available width, depth, and vertical clearance.
- Choose storage rated above your heaviest equipment load.
- Keep heavy equipment below waist height whenever possible.
- Match noise-producing gear to a ground-floor or matted location.
- Separate clean recovery tools from sweaty training equipment.
- Choose open storage for daily gear and closed storage for small accessories.
- Leave enough room to remove each item without moving three others.